


A profitable shop is not just a building with lifts dropped inside it. A smart mechanic shop layout pulls vehicles through the space with as little wasted motion as possible, keeps technicians safe, and makes every square foot pay its way. Whether you are planning a new building or reworking an existing one, the choices you make about bay placement, clearances, and utilities will shape your throughput and your profit for years. Here is how to lay it out the right way, section by section, and where we fit in.
Start With Workflow, Not Walls
Before you commit a single lift to a spot on the floor, map how a car actually travels through the shop. It arrives, gets diagnosed, moves to a work bay, sometimes visits a tire or alignment station, then leaves. A good mechanic shop layout shortens the distance cars and technicians cover between those steps. Cluster related work together, keep the parts room central, and protect a clear path from the entrance to every bay so nothing gets boxed in. Every extra step a technician takes, multiplied across hundreds of repair orders a month, is time you pay for and cannot bill. Sketch the flow on paper before you commit to walls, and pressure-test it against a busy Saturday rather than a quiet Tuesday, because the layout has to hold up when every bay is full.
Size Your Bays
Most independent shops run three to six bays. A standard service bay should be at least 12 to 14 feet wide and 24 to 30 feet deep so a vehicle can sit on a lift with room to work both sides and walk around the ends. Cramped bays slow technicians down and create hazards, so build generous where you can. Reserve at least one drive-through bay if the site allows, since it makes moving long vehicles far easier and keeps traffic flowing when the shop is full. Bay sizing is the backbone of any mechanic shop layout, so settle it before the slab is poured.
Lift Placement and Selection
Lifts are the anchors of the whole plan, and the type you pick decides how each bay works:
- Two-post lifts are the workhorses of general repair, giving full underbody access for brakes, suspension, and exhaust. They need a thick, level slab for anchoring and enough ceiling for the columns and a raised vehicle. We spec Challenger, Rotary, and Forward two-post lifts to fit your bays. See our 2-post car lift guide for options.
- Four-post lifts suit alignments, heavier vehicles, and drive-on convenience, which makes them a strong choice for a dedicated alignment or high-volume bay. Our 4-post car lift guide covers the range.
- Heavy-duty lifts. For trucks and fleet work, we spec PKS heavy-duty lifts sized to the loads you expect to run.
Place lifts so a raised vehicle never blocks a walkway or a bay door, and leave room for tool carts and jacks on both sides. Browse the full range on our car lifts store page to compare capacities for every bay type. Getting lift placement right the first time is one of the highest-leverage decisions in a mechanic shop layout, because relocating an anchored lift later means fresh concrete work and lost production.
Keep Alignment Separate
Alignment work needs a level, purpose-built bay with a rated lift and clear sightlines for the measuring equipment. Keeping it apart from general repair stops a long alignment from tying up a bay you need for quick jobs, and it protects the precise leveling the station depends on. If you plan to offer alignments, design that bay into your mechanic shop layout on purpose rather than squeezing it in later. A well-placed alignment bay earns its keep in throughput alone.
Ceiling, Floor, Power, and Air
The utilities behind the walls make or break the plan. Confirm all four before anything gets installed:
- Ceiling height. A two-post lift with a vehicle raised often needs 12 feet or more of clearance depending on the model. Measure to the lowest obstruction, not the peak.
- Floor. Lifts anchor into concrete, so the slab must be thick enough and cured to the manufacturer’s spec. Thin or cracked floors need reinforcement first. We follow each lift maker’s installation requirements exactly, because this is a safety issue.
- Power. Lifts, a compressor, and diagnostic gear all draw current. Plan circuits and voltage per machine and add headroom for future growth.
- Air. Run lines to every bay from a right-sized compressor, with a drop at each station so hoses do not snake across the floor.
Safety Clearances and Storage
Leave aisles wide enough to move a vehicle or a tall tool cart without squeezing past a raised car. Keep fire extinguishers reachable, store fluids and chemicals to code, and give waste oil and used tires a dedicated spot. A tidy mechanic shop layout is a safer and faster one, and it reads as professional to any customer who can see into the bays. Clutter is not just unsightly; it is lost time and a liability waiting to happen.
Design for Growth
Leave room to add a bay, a second alignment station, or heavier lifts as the business grows. Running conduit and air stubs to a future bay during buildout costs little now and saves a major project later. The best mechanic shop layout fits the shop you run today and the one you intend to become, so plan for both from the start. Think about where the next lift lands before you set a single anchor.
We Help You Lay It Out
We are not your general contractor, and we do not pour the building. What we do is help you plan the service area for flow, then spec, supply, and install the lifts and shop equipment that make it work. We match lifts to your bays, ceiling, floor, and power, work alongside your builder, arrange 0% financing, and coordinate the install. Call 800-674-9302 and we will help you plan a floor that flows. For the bigger picture, see our guides on the auto repair shop layout, auto repair shop design, and the right automotive shop equipment for your build.
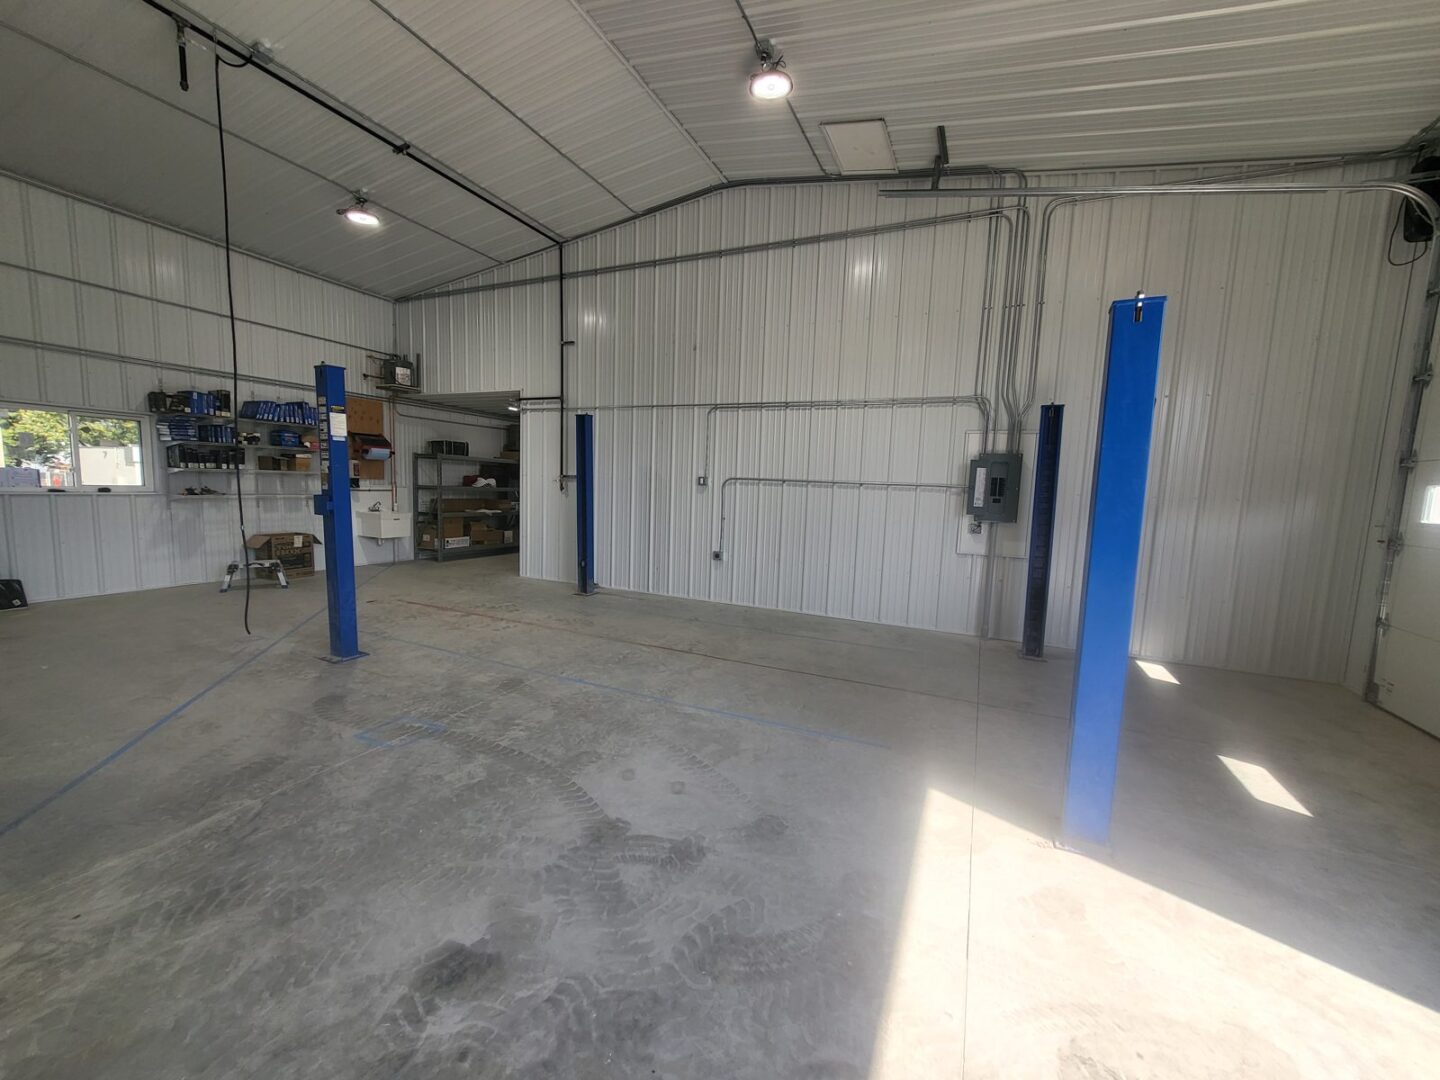
A real four-post shop layout
Our Clients Include: