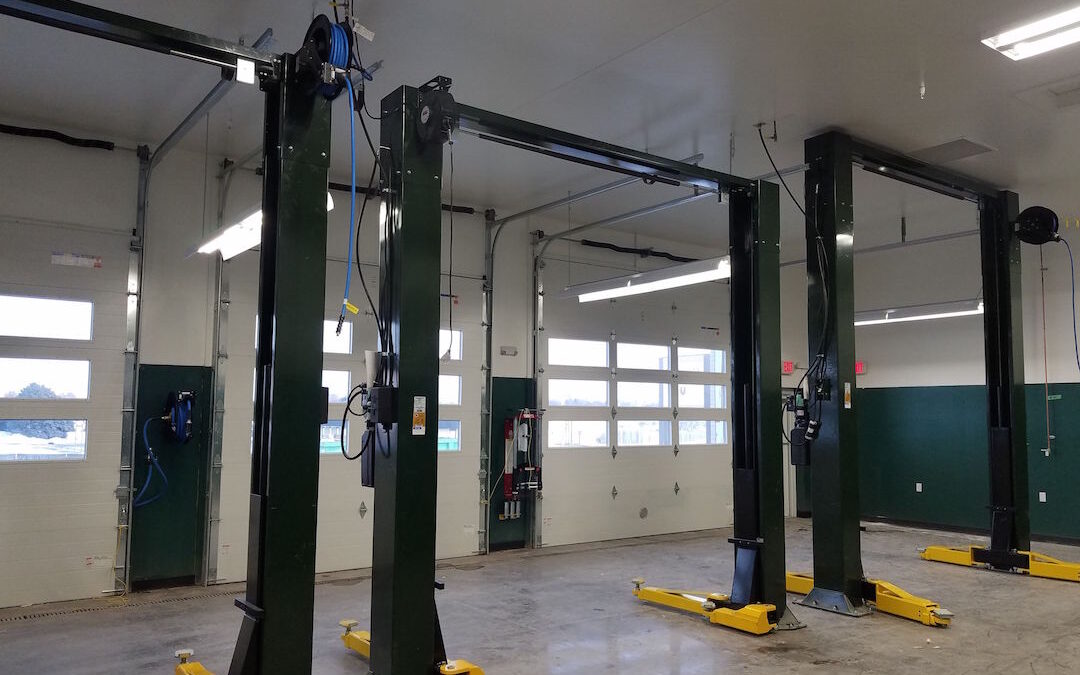
Well thanks for tuning in again for part three of the how to or guide on how to put cl10v3 challenger lift parts for sale in particular the new sheaves on to your 2 post lift. This one is really turning out to be a lengthy process to describe to you however it does not help that i continue to get sidetracked quite often while telling you how to do each step. But forgive me for my rambling and i will make sure that this is the last one about the sheaves and you will get all the information you need in this last article. The next step to this process is to keep hitting that pin until the sheave comes and i have to warn you not to hit it so much that it will mushroom the pin. I think that means that the end that you are hitting starts to get kind of flattened on the top and if that happens it definitely is not going to fit back in to the lift with the new cl10v3 challenger lift parts for sale like your sheave. So take care to make sure that does not happen. Ok once you have sanded down the pin. We are kind of hopping around for these different steps because i told them out of order last time so just hold on and try to stay with me. Once it is sanded then you can put the new clean and good to go sheave on to the pin. When you do this you also want to make sure that you get all the right parts back on there how they were when you removed it. These parts are some like the spacers, the washers, the e clips, and any other things that were holding everything together and had a specific purpose. Typically they go in the ordr of the sheave frist then the washer and then the e clip, a spacer, and then another e clip and then a washer and then the other sheave. If it is not in that order, it is not a huge deal that is just what we have to come find with our time dealing with these cl10v3 challenger lift parts for sale. So if it applies to you, great, if not, oh well it is probably fine. If you are really worried about it you can give us a call and we will ask one of our techs what you should do about it. They get quite a few questions about the cl10v3 challenger lift parts for sale that we provide so it is nothing new to talk with customers and help with any trouble shooting issues they are having. We are delighted to give you a hand and by give you a hand i mean probably over the phone because we are located in the midwest and do not send techs around the country to do that kind of thing. We stay in iowa for the most part. Ok back on track, we next need to install the equalizer cables again because we had to move or take them off to fix the sheave. If you need more guidance and information about that step we recently also made a guide for how to do that part of this process. You can go and take a look at that information if you would like. We try to make guides for most of the cl10v3 challenger lift parts for sale on our website. We find that people do not like to pay for someone else to fix it for them they want to give it a try first and see if they can do it themselves. Next you need to lower the lift as far down as you can. You will find that when you bring the lift down you might hear the locks engaging as you do that and that is totally normal and is designed to do that. It is a safety precaution so that if your lift has an accident and a cable breaks or something else goes wrong the locks will still catch the lift and make sure that no one or any thing that was under the lift gets crushed. It is a pretty smart design and i am sure it has saved a lot of people a lot of money and injury. Now that the lift is lowered all the way down, check the tension on the cables. They need to be just right so that they function properly. If you need more assistance with the cables which are cl10v3 challenger lift parts for sale refer to that other article or call in to automotive lift services. The next task is to bring the lift up and by that i mean that you should raise the lift and as you do that you need to check if the locks on both sides are engaging at the same time. If you can not get the lift adjusted in a way that allows the locks to engage at the same time. You may be asking how you will know when the locks engage. And trust you will know they make a very loud clanking sound when they engage. You can not miss it. So do not worry about that. If you are not sure if they have engaged they most likely did not engage, because it is pretty obvious when they do. If they still will not lock at the same time then you might have to move the lift so that it stands more evenly on more even ground or you may have to grout under the lift on one side so that the 2 post lift is more level. You may have to use shims as well. Usually when you use shims then you grout around the shims and the lift to make it look better and then the shims will not get knocked out from under the lift. Then just make sure the lift is not making weird noises and then you are good to go.

