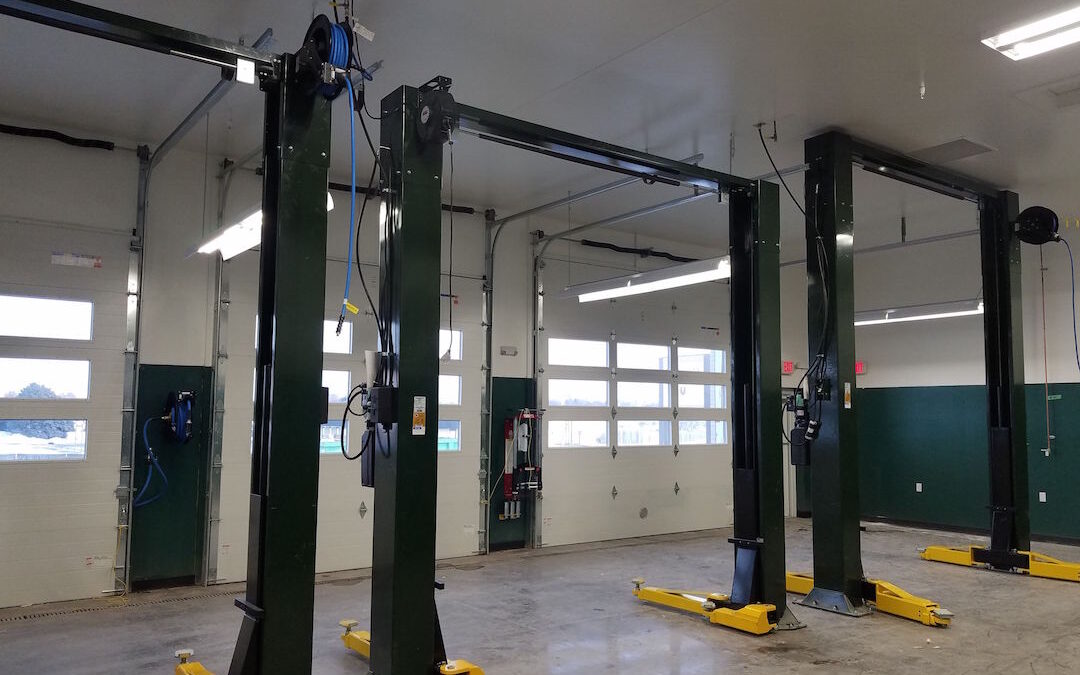
Get your cl10v3 challenger lift parts for sale right here on our website. If you need any more information on your lift and the parts you may need, you have come to the right place. So let’s hop right in to it. In another article, we talked about the cables and we might add more to that in this one, we also talked about the carriage and the sheaves. So important so if you need more information about those, look for that. Next we will go into the bolts. They might be tiny but oh boy do they really carry their weight and the weight of the whole lift to be exact. The bolts hold the lift sturdy onto the ground. When you bolt the lift down you need to take a drill that works on concrete and you have to drill a pilot hole into the concrete. Then you need to suck the concrete dust out of the hole and let me tell you there will be quite a bit of concrete dust. We use a shop vac to suck all of the dust out of the bolt hole. Make sure you clean the filter in the shop vac out on a regular basis because concrete really clogs it up. Once you have gotten it cleaned up really well then you will screw the lift into the ground using the bolts. These are the cl10v3 challenger lift parts for sale. They are pretty cheap but they have a big job. You will want to use a hammer drill and an electric screwdriver machine. Maybe a socket would be helpful for screwing the bolts for the lift into the ground. Once they are nice and tight you will put the screw glue on or in and around the holes. With the bolts in them of course. But sometimes you need to do that to make sure that they are as tight as possible and doing what they were supposed to be doing. Then you should probably wipe up some of the extra bolt glue and do an extra screw and tightness check on the bolts. As far as the glue goes, I believe that is one of our cl10v3 challenger lift parts for sale. Then stand up and give the lift a good old push to make sure it is really grounded and good to go. If there are some gaps underneath the base of the column sometimes people want you to grout the base so that it looks like it is touching the ground evenly on all sides. Grouting the lift honestly doesn’t do much at all but sometimes customers are really set on doing it. It doesn’t make it any more structurally sound or safe i do not think. But if it makes the customer happy, you might as well take the extra twenty to thirty minutes to get the job done. You can’t put a price tag on the happiness of a customer. Accept that extra time spent grouting the lift will cost you more time and money if a hired employee is doing the work, but it is well worth it. To grout the column you need a 5 gallon bucket, water, a mixer, and the grout dust in a bag. You put the grout dust in first and then you will want to start by adding just a little bit of water to start. Go nice and light on the water. It is better to have not enough water and then need to add more than to add too much water and then it be too wet and if you already have your bucket pretty full you won’t have room to add any more grout to it otherwise it may overflow. And your customer or yourself will not be too happy if there is spilled watery grout all over the floor of the garage or shop. If you need to start over and need the supplies we have cl10v3 challenger lift parts for sale and that would be included in our inventory. Anyways, as i was saying, then you take the mixer and put it on the end of the electric screwdriver. Then you use that to mix the grout until it is smooth and not too sticky and not too wet. If you have any questions about that consistency you can give us a call or email from looking at cl10v3 challenger lift parts for sale on our website. Once you have the grout ready to go, you will want to scoop up a good sized glob from the bucket and put it on the floor right beside the column. We typically use a spatula type tool or a scraper spatula like you would use to scrape paint chips off of a wall or something like that. If you look up cl10v3 challenger lift parts for sale you can probably find one. Then you want to push the grout under the column from one side. Keep pushing the grout under it until you see the grout coming out from the other side. You want it all the way under the column. Then you will do the same thing to the other side of the column. Once the grout is all the way under the column from all sides, then you will want to smooth out the edges around the edge of the column. This is where the scraper really comes in handy. You want it to look nice and sharp and clean around the edges. We try to make a nice angle from the column down to the floor so that it looks clean and like the column is touching the ground all the way. That is what customers want to see. Then the grout needs to sit and cure for a good 12 hours. So don’t do anything to it until it is cured. Last you will need to clean up all the excess material and wash away any residue on the ground to get it done well.

