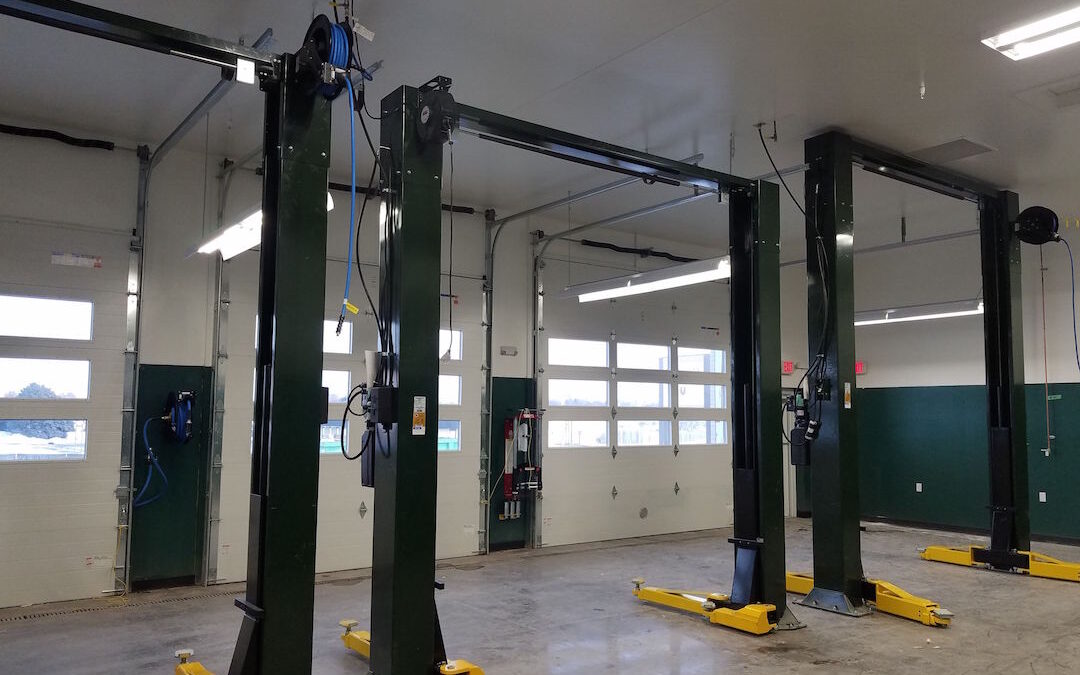
This article is a continuation of learning how to replace a hydraulic hose on a 2 post for those who need cl10v3 challenger lift parts for sale. We previously went over how to remove the old hydraulic hose. Now we will go over how to put the new hydraulic hose on to your lift. Route the new hose on the lift. You should take your time and make sure that none of the cables or other moving parts on the lift will be rubbing the hose. If they do rub the hose a lot, over time it will wear out the hose and then you will be right back where you started searching for cl10v3 challenger lift parts for sale and installing a new hose again and that my friend is a vicious cycle that you will want to avoid so listen carefully and make sure that nothing is rubbing against the hose. When you attach the hose to the lift start by attaching it to the side that is close to the pump. This is the way that our techs attach the hose. If you ask why we do it on the side with the pump first, i could not tell you but I just know that they think it is the best way to do it so that is what we are going to tell you to do as well. Then attach the hose on the other side of the lift as well. When you route the hose you will want to pay extra attention to making sure that the hose doesn’t get pinched between the carriage and the base plate on the lift. If it gets pinched, it could spray fluid all over the place and then you will need to buy another hose to replace the one that was just destroyed. If you want to buy extra cl10v3 challenger lift parts for sale just in case we are happy to help you out with that. Once you have checked and made sure there is no pinching or rubbing, you will need to put the clamps back on the hose and add any zip ties if necessary. Normally you would only do this if you need it to sit a certain way so it doesn’t get in the way of the other lift parts so it doesn’t get pinched or broken or anything. Next you need to run the lift. You want to do this until the hydraulic cylinders start to raise. Cl10v3 lift is a hydraulic lift so it lifts because of the hydraulic cylinders in the lift. When the cylinders start raising you will need to bleed the the hydraulic cylinders. To bleed it you have to find the bleeder screw. It is normally at the top of the cylinder or if it is not there and you are still looking for it, it might be on the top side of the hydraulic cylinder. You should bleed it until there is no more air coming out of it. It may make like a little hissing sound and if you put your ear nice and close to the screw you should be able to find it. And then when it stops hissing that is a good sign that all the air is out of it and that is what we are trying to accomplish. Not everyone goes off of the hiss but i personally have found that to be a very helpful way to figure out how much bleeding the screw needs. And if the screw gets broken we can get you some more cl10v3 challenger lift parts for sale. Easy, no problem. Make sure you replace the copper washers when you are done. The washer is important because it keeps the screw from getting all screwy. That was just a little screw humor for you. Don’t worry about it. So anyways, Next you will want to lower the lift all the way back down or as far as it goes depending on the lift. Most lifts will go all the way to the ground though so we will just say that from now on. For simplicity’s sake. Next you will need to fill the pump back up all the way with fluid. We consider fluid to be a cl10v3 challenger lift parts for sale. There are a different few kinds of fluid that can be used in lifts. However you want to make sure that you use the same fluid that was already in it. If you mix fluids that could really end badly for your pump and for your wallet. Let me tell ya those pumps are not cheap so you should make sure you are using the right fluid for the right pump. Typically it will be ISO – 32 or it will ATF fluid. ISO – 32 is a clear color. And ATF fluid is red so it should not be too hard to figure out which one it is. And I can not say it enough, you need to use the right one so that you do not damage your pump. Then raise the lift up all the way to the top and keep pressing the button for a couple of seconds while it is maxed out. Check around the lift for any leaks from the hydraulic hose or anything else on the lift. When you have finished that and there are no leaks you should bring the lift all the way back down and you are good to go. You have replaced a hydraulic hose that you found from looking up cl10v3 challenger lift parts for sale. We hope that this how to was helpful for you and you had an easy and maybe even kind of enjoyable experience replacing this part. If you have any concerns about your work and want to talk through any of this process with a tech feel free to contact us we are happy to help in any way we can. Thanks for tuning in and have a good one.

